A Complete Guide to Flutter CI/CD for iOS, Android and Web
What Are the Benefits of Mobile CI/CD? What’s in It for a Developer?
Higher Productivity and Lower Costs
Faster Release Cycles
Faster Feedback and Response
Increased Coding Discipline
Early Warnings
Better Visibility
Complexities of Delivery Are Handled for You
Setting Up a Flutter CI/CD Pipeline with GitHub
1. Organize Your Repository:
- Use a structured branching strategy, such as Git Flow, for better collaboration.
- Store all necessary dependencies in the repository for reproducible builds.
2. Configure a Workflow File:
- Define automation steps in a YAML file (
flutter.yaml), specifying tasks like installing dependencies, running tests, and building artifacts.
3. Automate Testing and Builds:
- Integrate testing frameworks for unit, widget, and integration tests.
- Configure builds for iOS, Android, and web to generate IPA, APK, and web artifacts.
4. Streamline Deployments:
- Use GitHub Actions to trigger automated deployments to app stores or internal testing platforms.
Simplifying Flutter CI/CD with Appcircle
- No YAML Hassles: Use a visual workflow editor to configure tasks without needing complex scripts.
- Built-in Mobile Features: Manage code signing, test results, and app distribution natively.
- Pre-configured Steps: Simplify common tasks like Flutter builds and artifact management.
- Secure Signing: Automate provisioning profile and certificate handling with Appcircle Signing Identities.
- Effortless Test Distribution: Distribute your builds to test teams seamlessly using Appcircle’s Testing Distribution module.
- Streamlined Store Releases: Manage your app releases effortlessly with the Publish module, eliminating dependency on any store’s developer interface.
Step-by-Step Guide: Flutter CI/CD Workflow with Appcircle
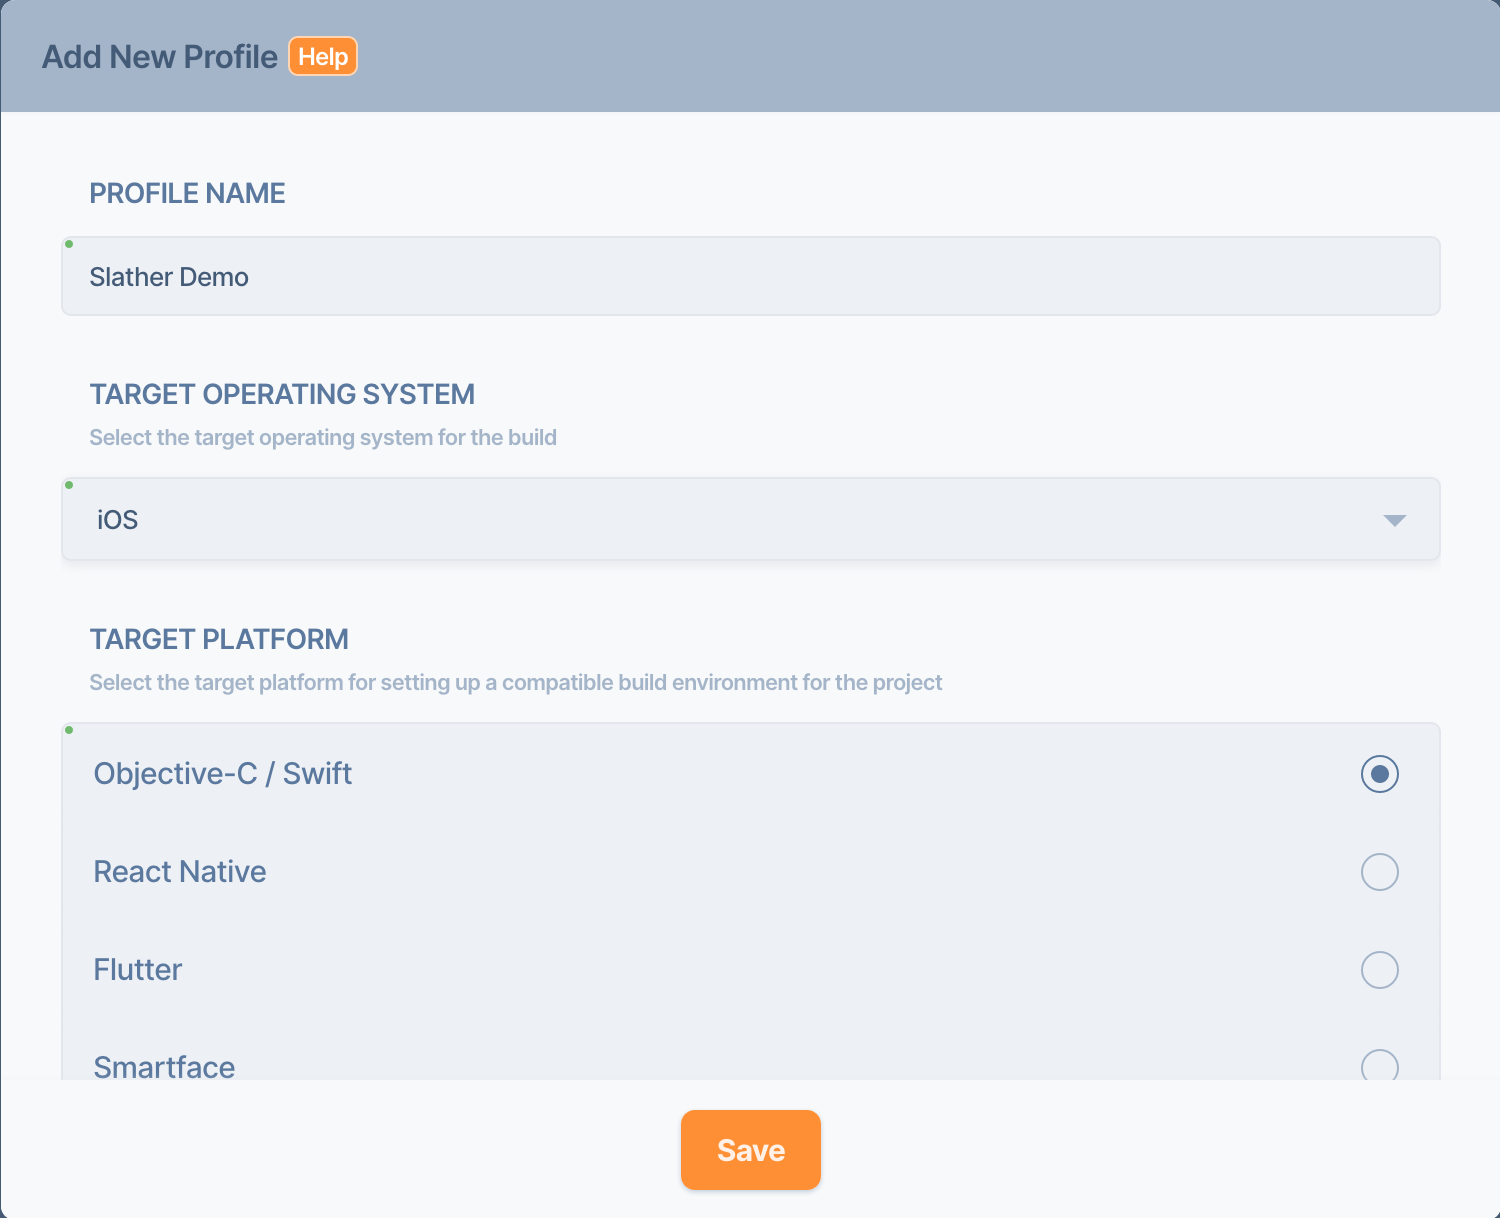
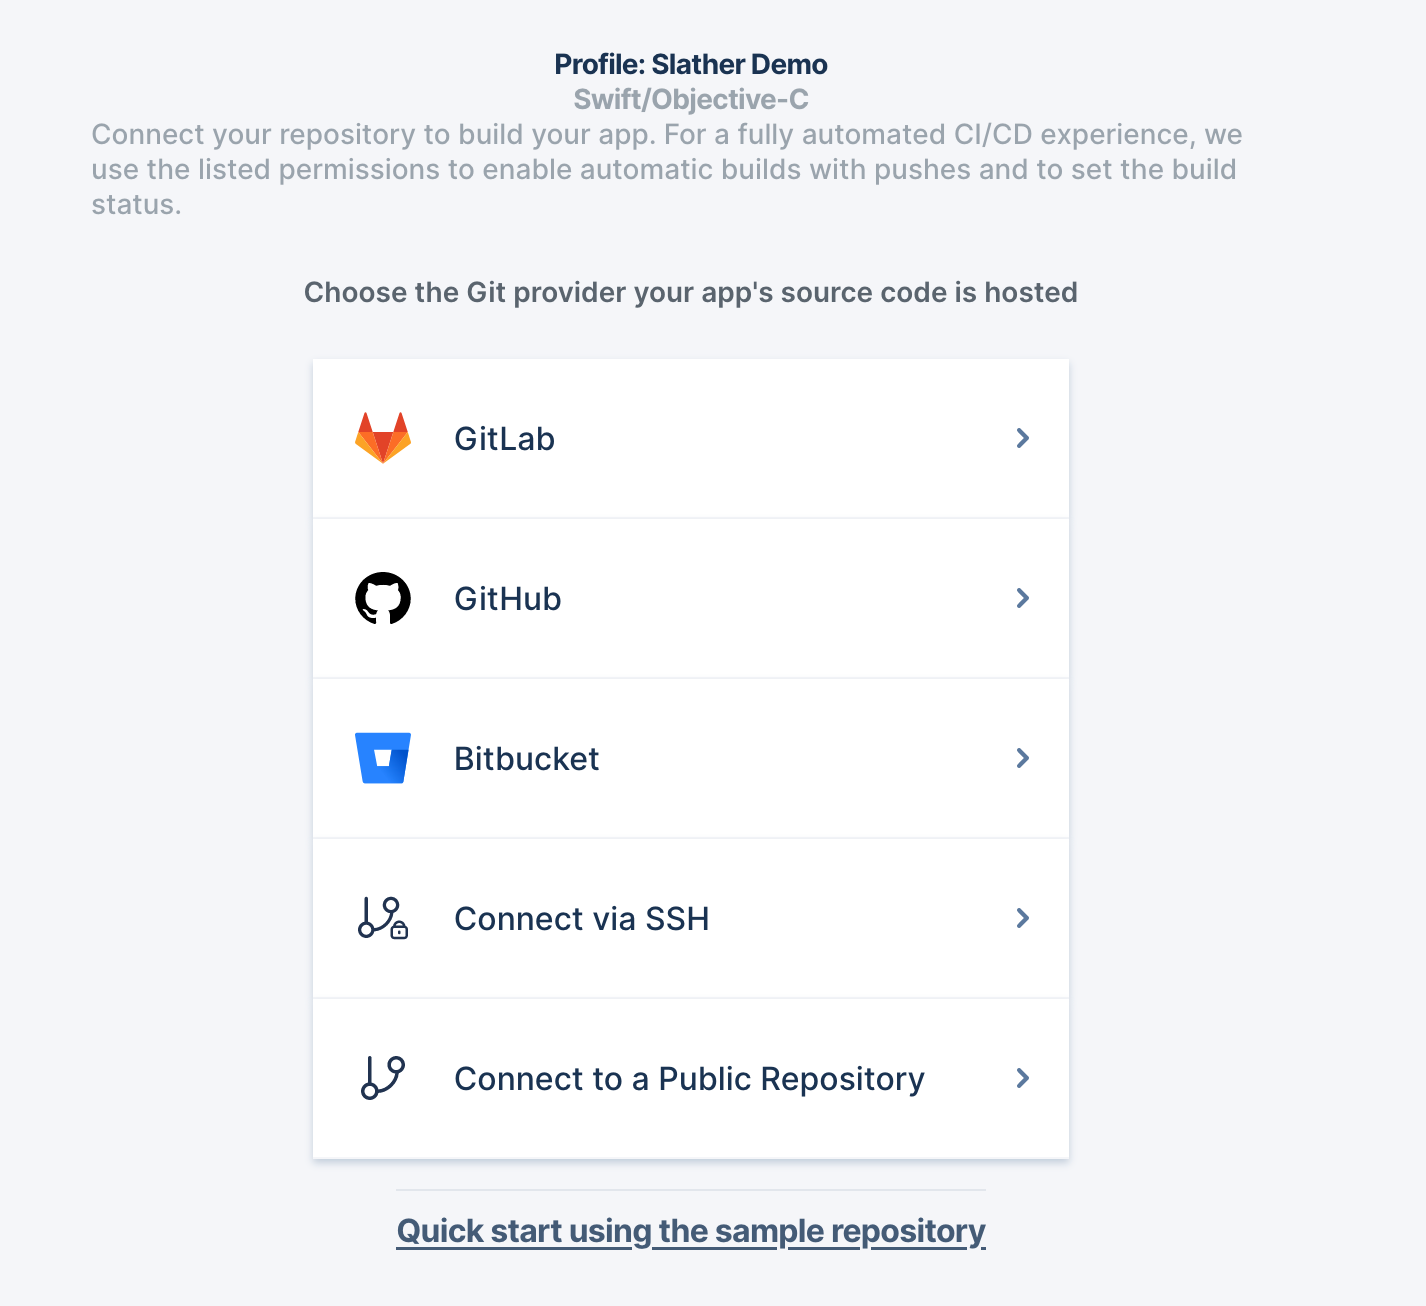
- Link your repository to Appcircle securely using token-based authentication.
- Select the branch (e.g.,
mainordevelop) to automate CI/CD tasks.
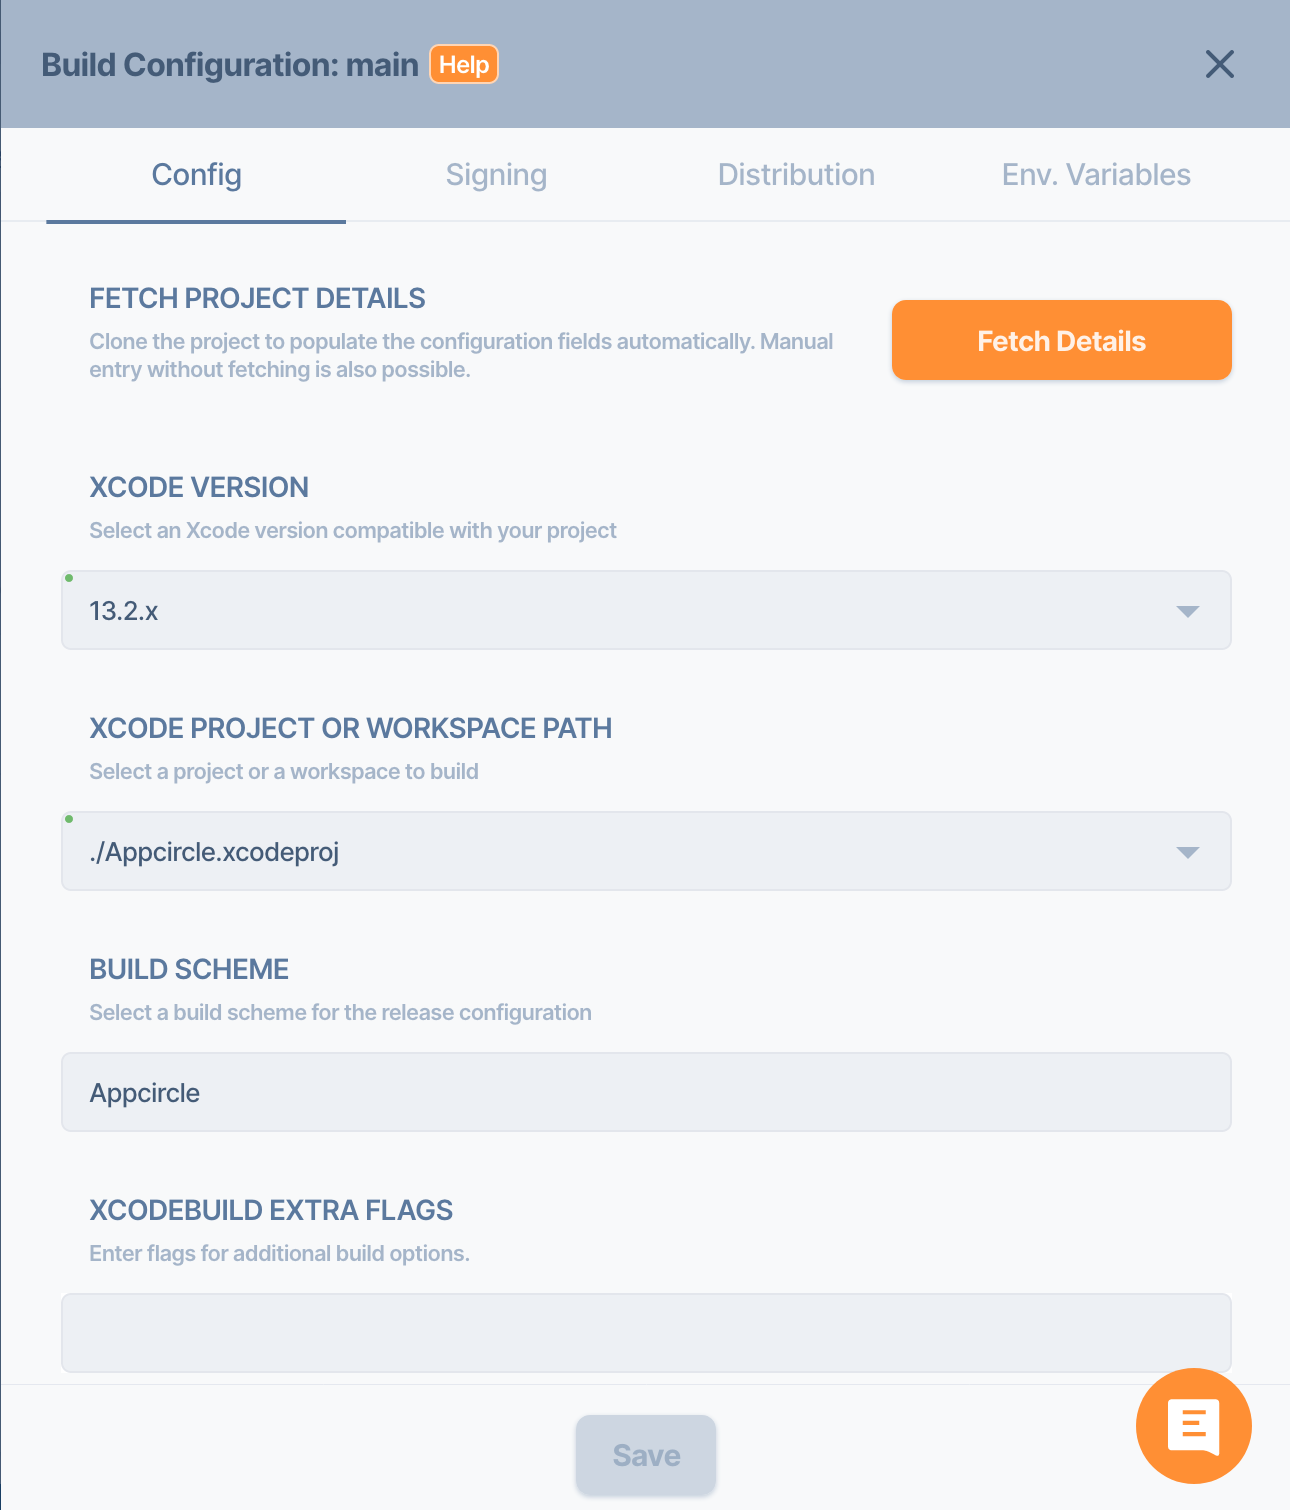
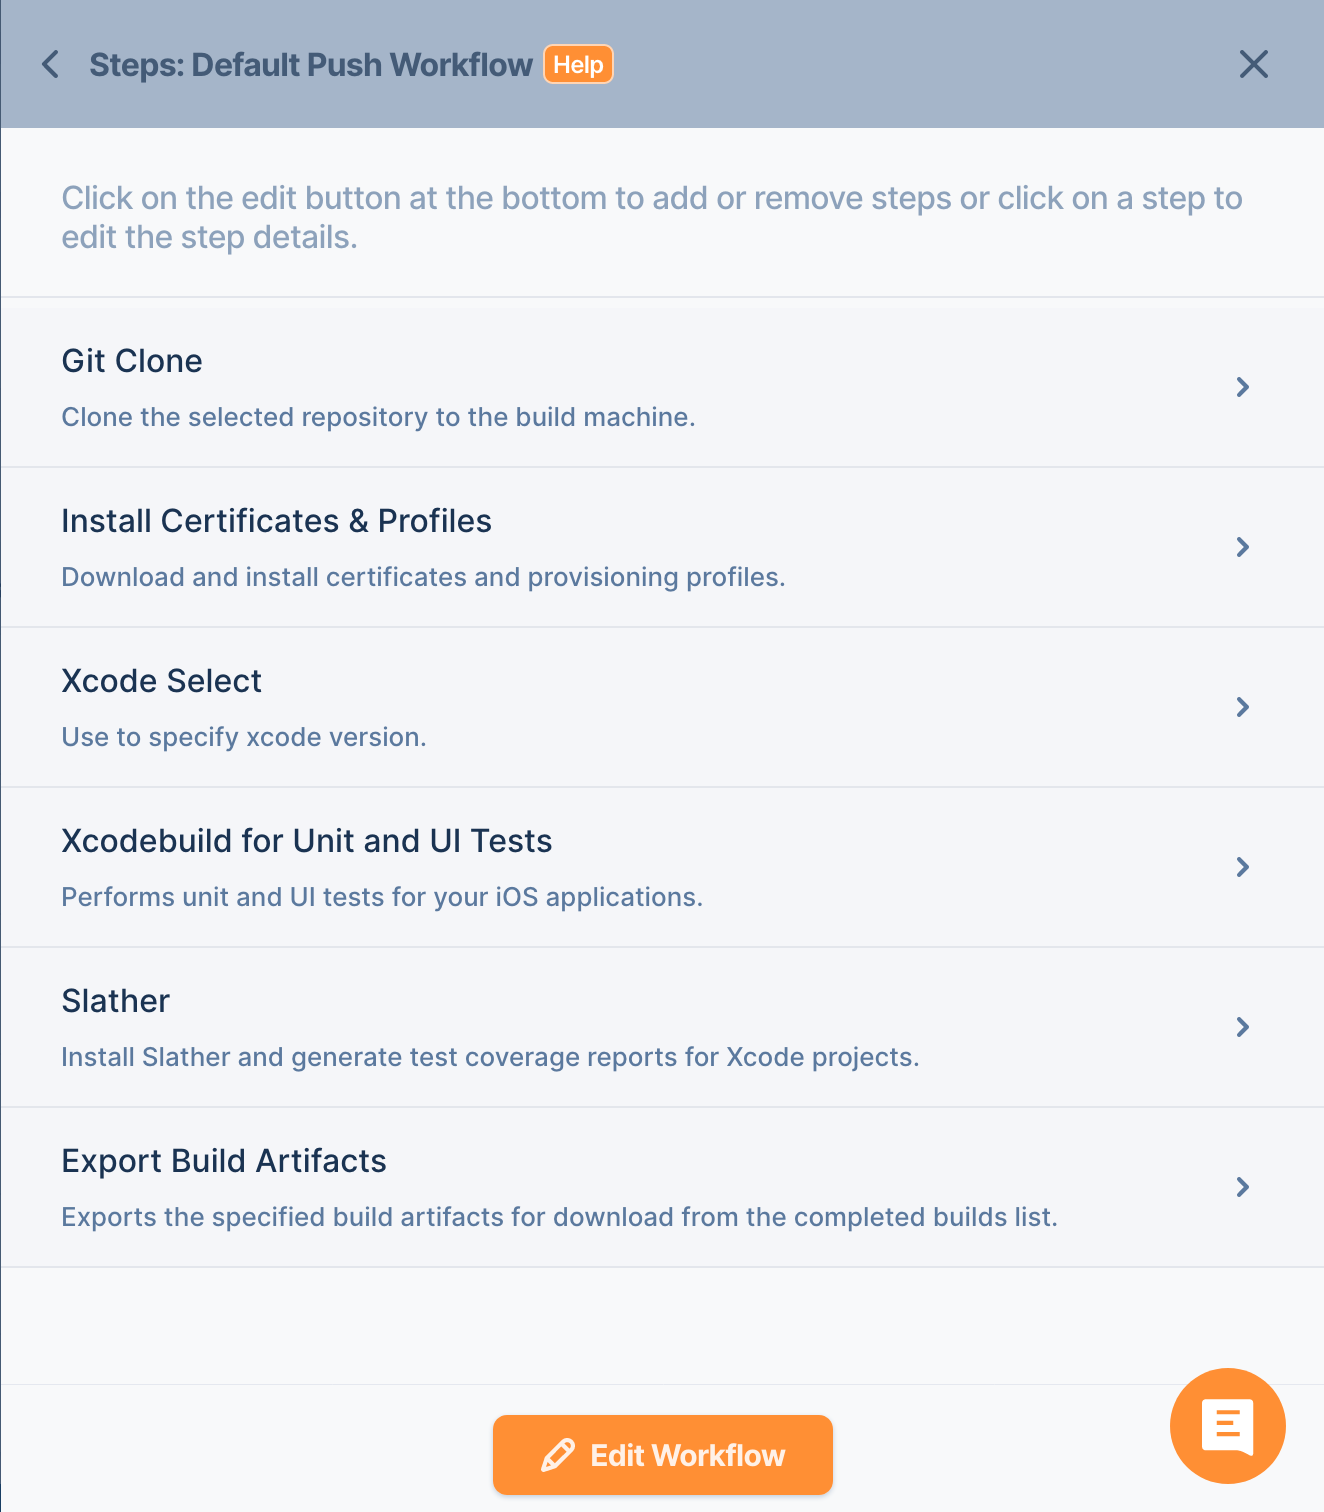
Use Appcircle’s graphical interface to configure workflows tailored for Flutter:
- Clone Repository: Fetch the latest code from GitHub.
- Install Flutter SDK: Ensure compatibility with your project requirements.
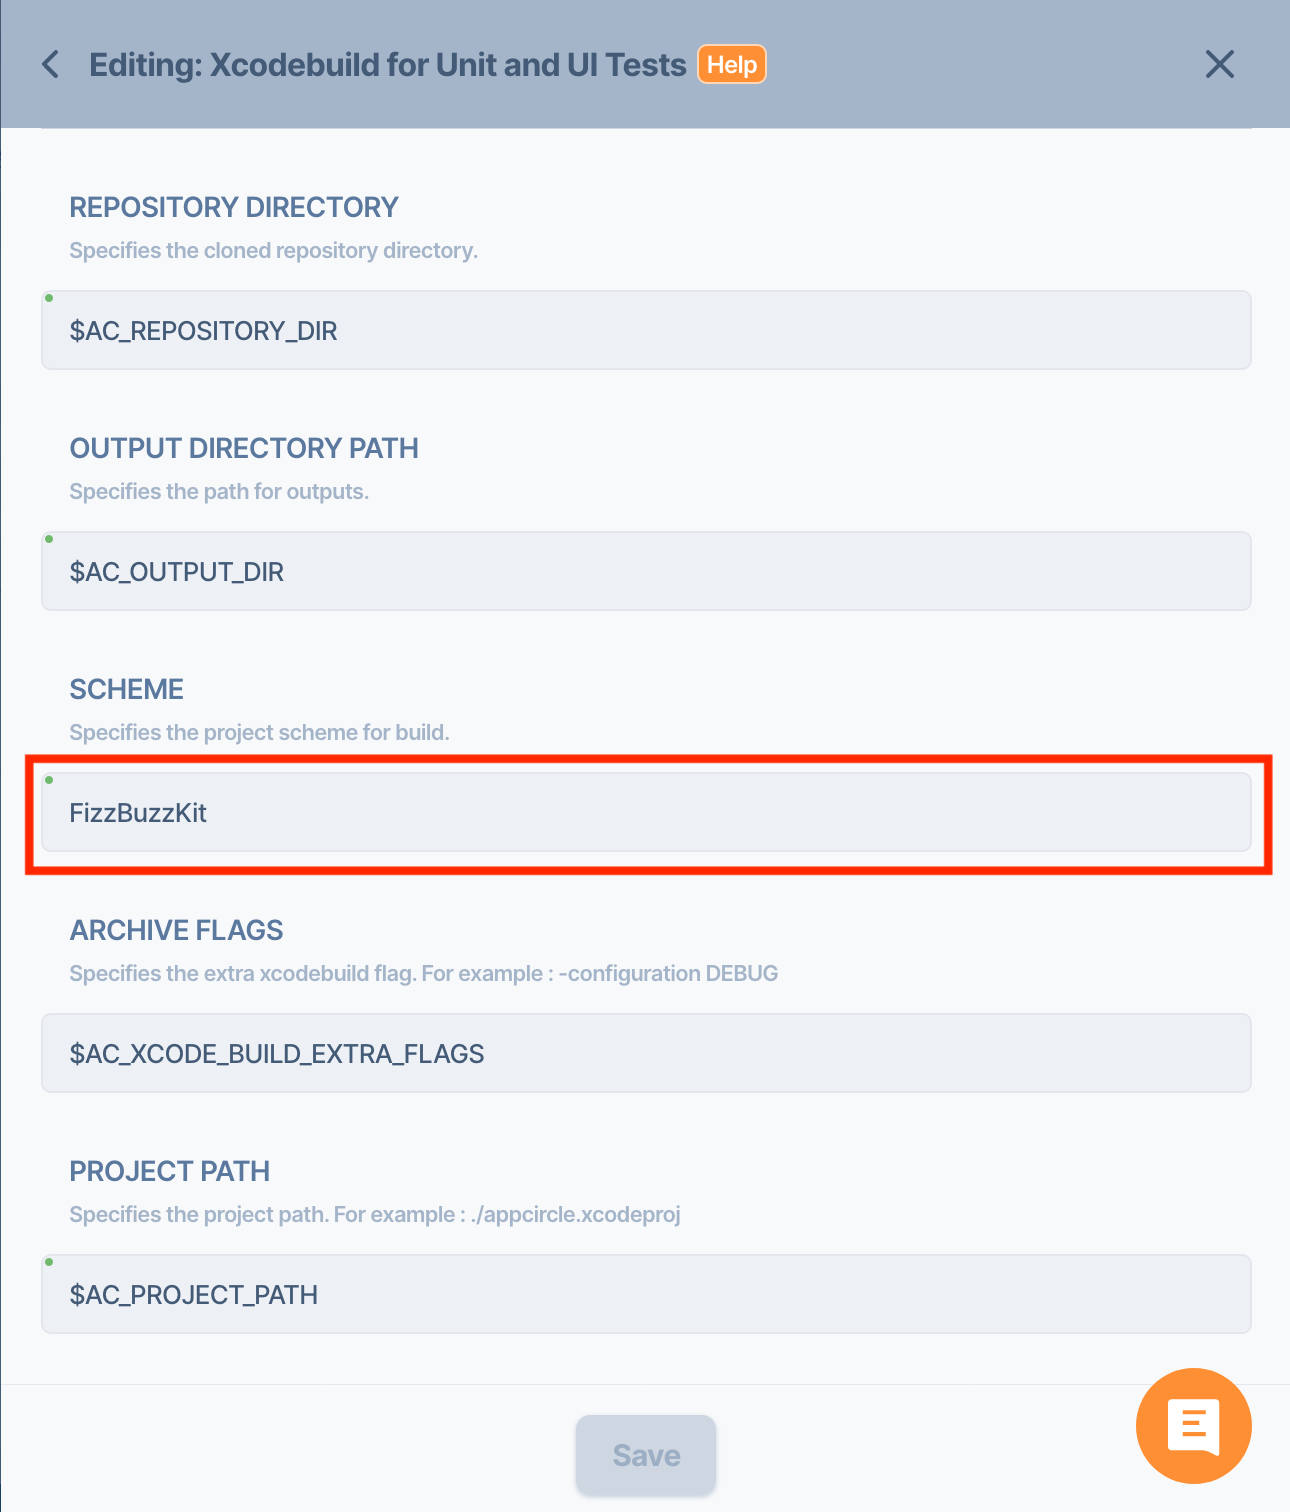
- Run Tests: Automate unit, widget, and integration testing.
- Build Artifacts: Generate APK, IPA, and web builds with pre-configured steps.
- Manage certificates and provisioning profiles using Appcircle Signing Identities.
- Enable automatic code signing for both iOS and Android builds.
- Distribute test builds internally using Appcircle Testing Distribution.
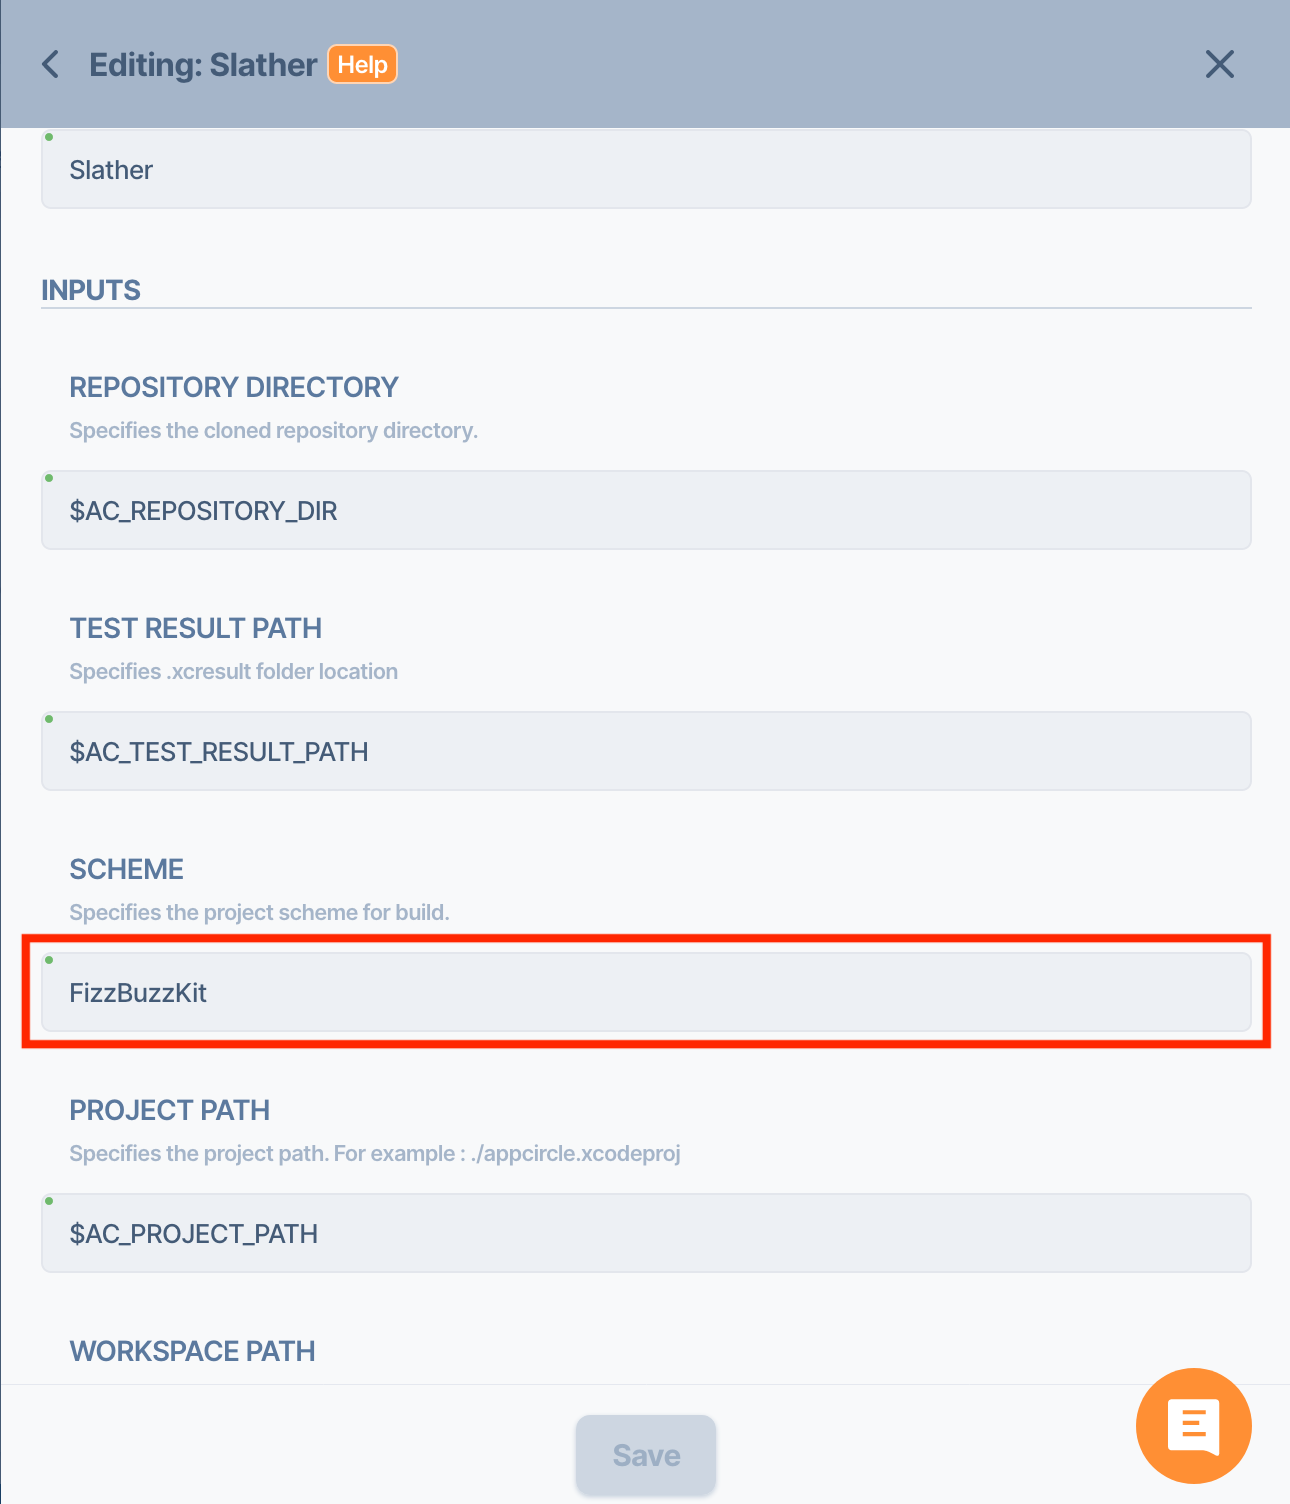
- Access detailed reports and logs to debug any issues efficiently.
- Use Appcircle’s Publish to Store Automation to release apps directly to the Apple App Store, Google Play, or other platforms.
- Automate versioning, release notes, and deployment approvals.
- Define retention policies to manage build artifacts effectively.
- Automatically clean up outdated builds to optimize storage usage.
Conclusion
FAQs
1. What is the benefit of using CI/CD for Flutter projects?
The benefit of using CI/CD for Flutter projects is that it automates testing, building, and deployment across multiple platforms, streamlining workflows while improving code quality, accelerating release cycles, and reducing manual errors. This results in consistent and reliable app delivery for iOS, Android, and web, enabling faster feature releases and early bug detection. Additionally, CI/CD enhances team collaboration and minimizes production risks by ensuring reproducible builds and efficient deployment processes.
2. Why should I choose a mobile-first CI/CD platform over generic ones for Flutter projects?
Choosing a mobile-first CI/CD platform for Flutter projects ensures faster, more reliable builds, testing, and deployments, especially for iOS and Android. These platforms are built specifically for mobile, handling complexities like macOS build environments, code signing, app store submissions, and platform-specific dependencies. Unlike generic CI/CD tools, mobile-focused solutions offer prebuilt mobile-native integrations and up-to-date stack support. Platforms like Appcircle include built-in signing identity management, visual workflows, app distribution, and publishing modules, reducing DevOps overhead and accelerating release cycles.
3. How does Appcircle help with Flutter testing and deployment?
Appcircle lets you run unit, widget, and integration tests directly within your workflow. It supports Testing Distribution to share builds with QA teams, an Enterprise App Store for in-house app distribution, and Publish Automation for releasing apps to the App Store, Google Play, Huawei AppGallery, Microsoft Intune, and TestFlight. This all-in-one approach simplifies testing, distribution, and deployment, accelerating your Flutter app delivery.